Track Profile
How to modify a track profile
Marble Run Maker lets you separate marbles by size many different ways, limited only by your ingenuity. One simple way is by building a track profile that is just wide enough to allow smaller marbles to fall through, but still narrow enough that larger marbles keep rolling along.
Take a look at the video below. This is a circular track with shallow, angled walls and slowly-moving marbles. "Slowly-moving" is the key phrase here -- with these low walls, faster marbles would certainly jump the curb. But it's useful to illustrate our point here.
The formula for this simple track profile is 10,0,2,2,0,2,0,8,0,8,0,10,2. I'll explain briefly what this means in a second, or in great detail here if you're interested.
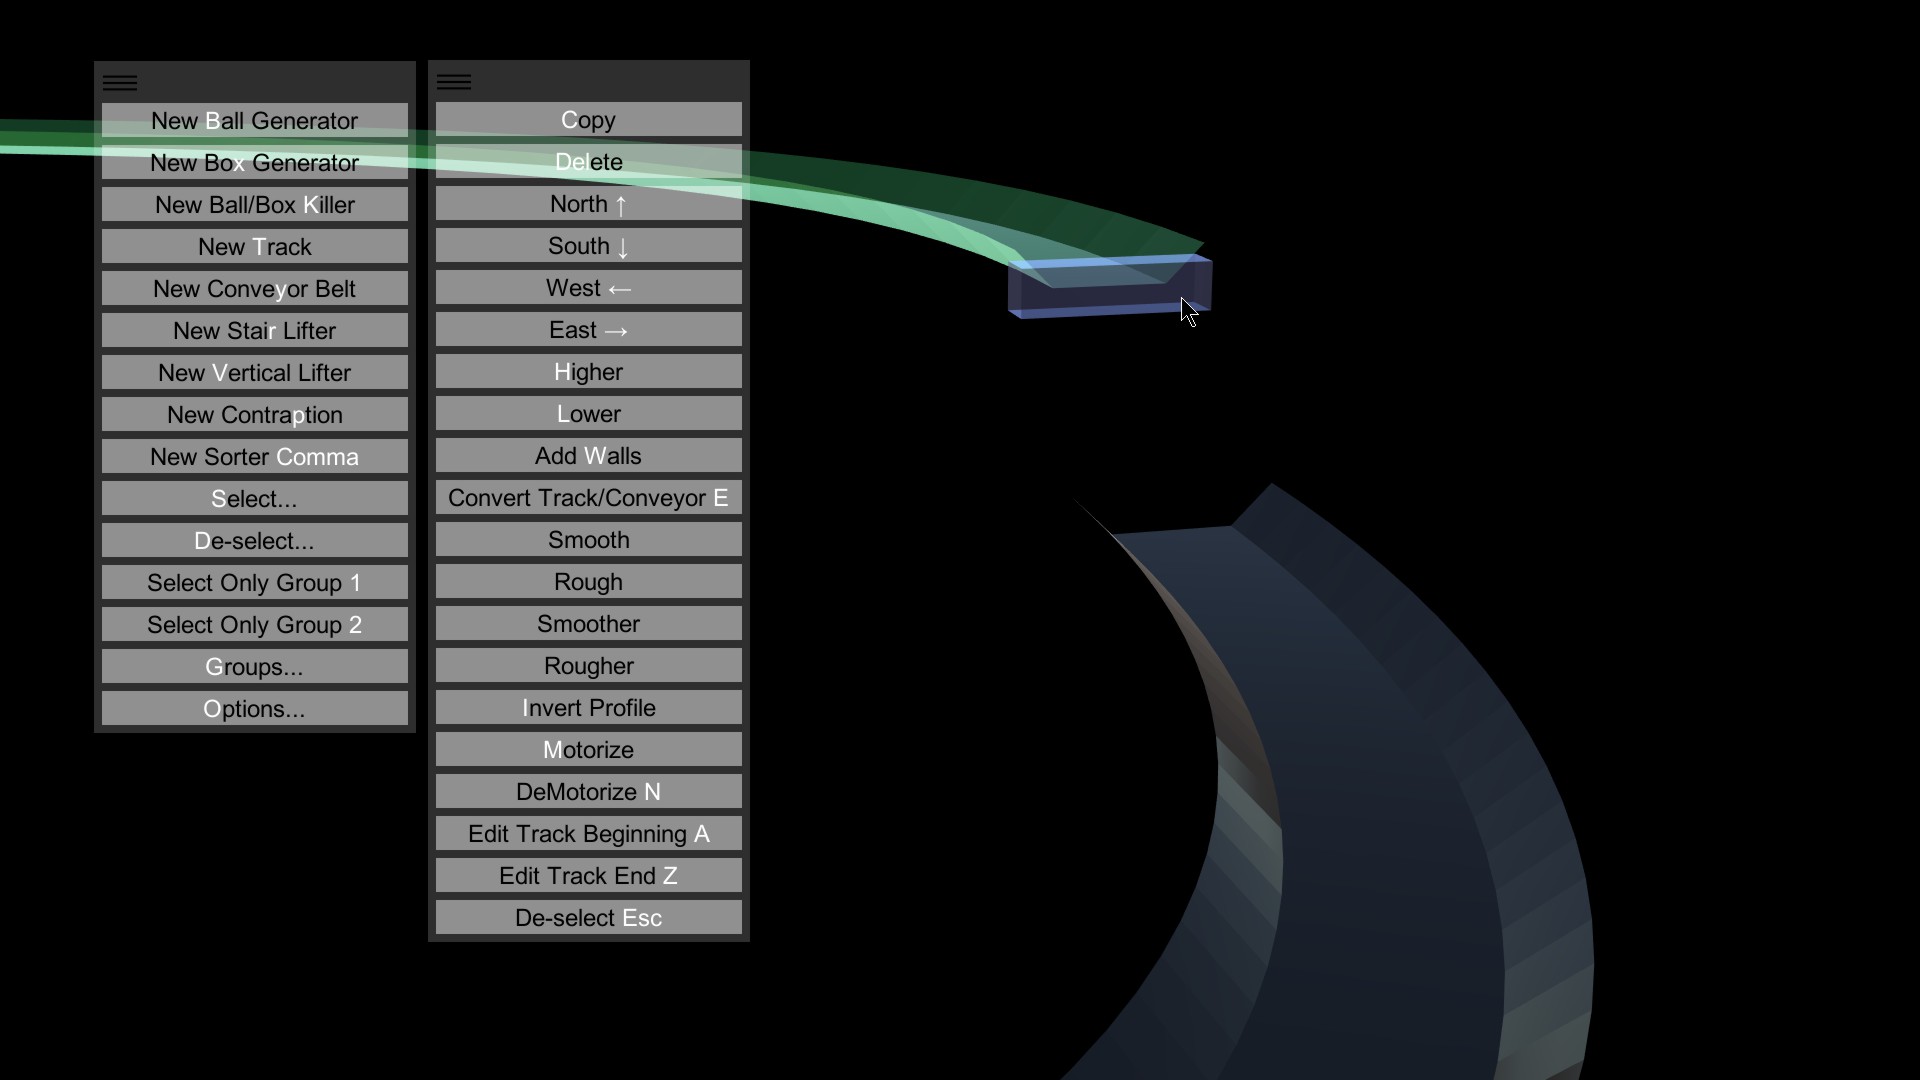
First, click on one of the tracks.
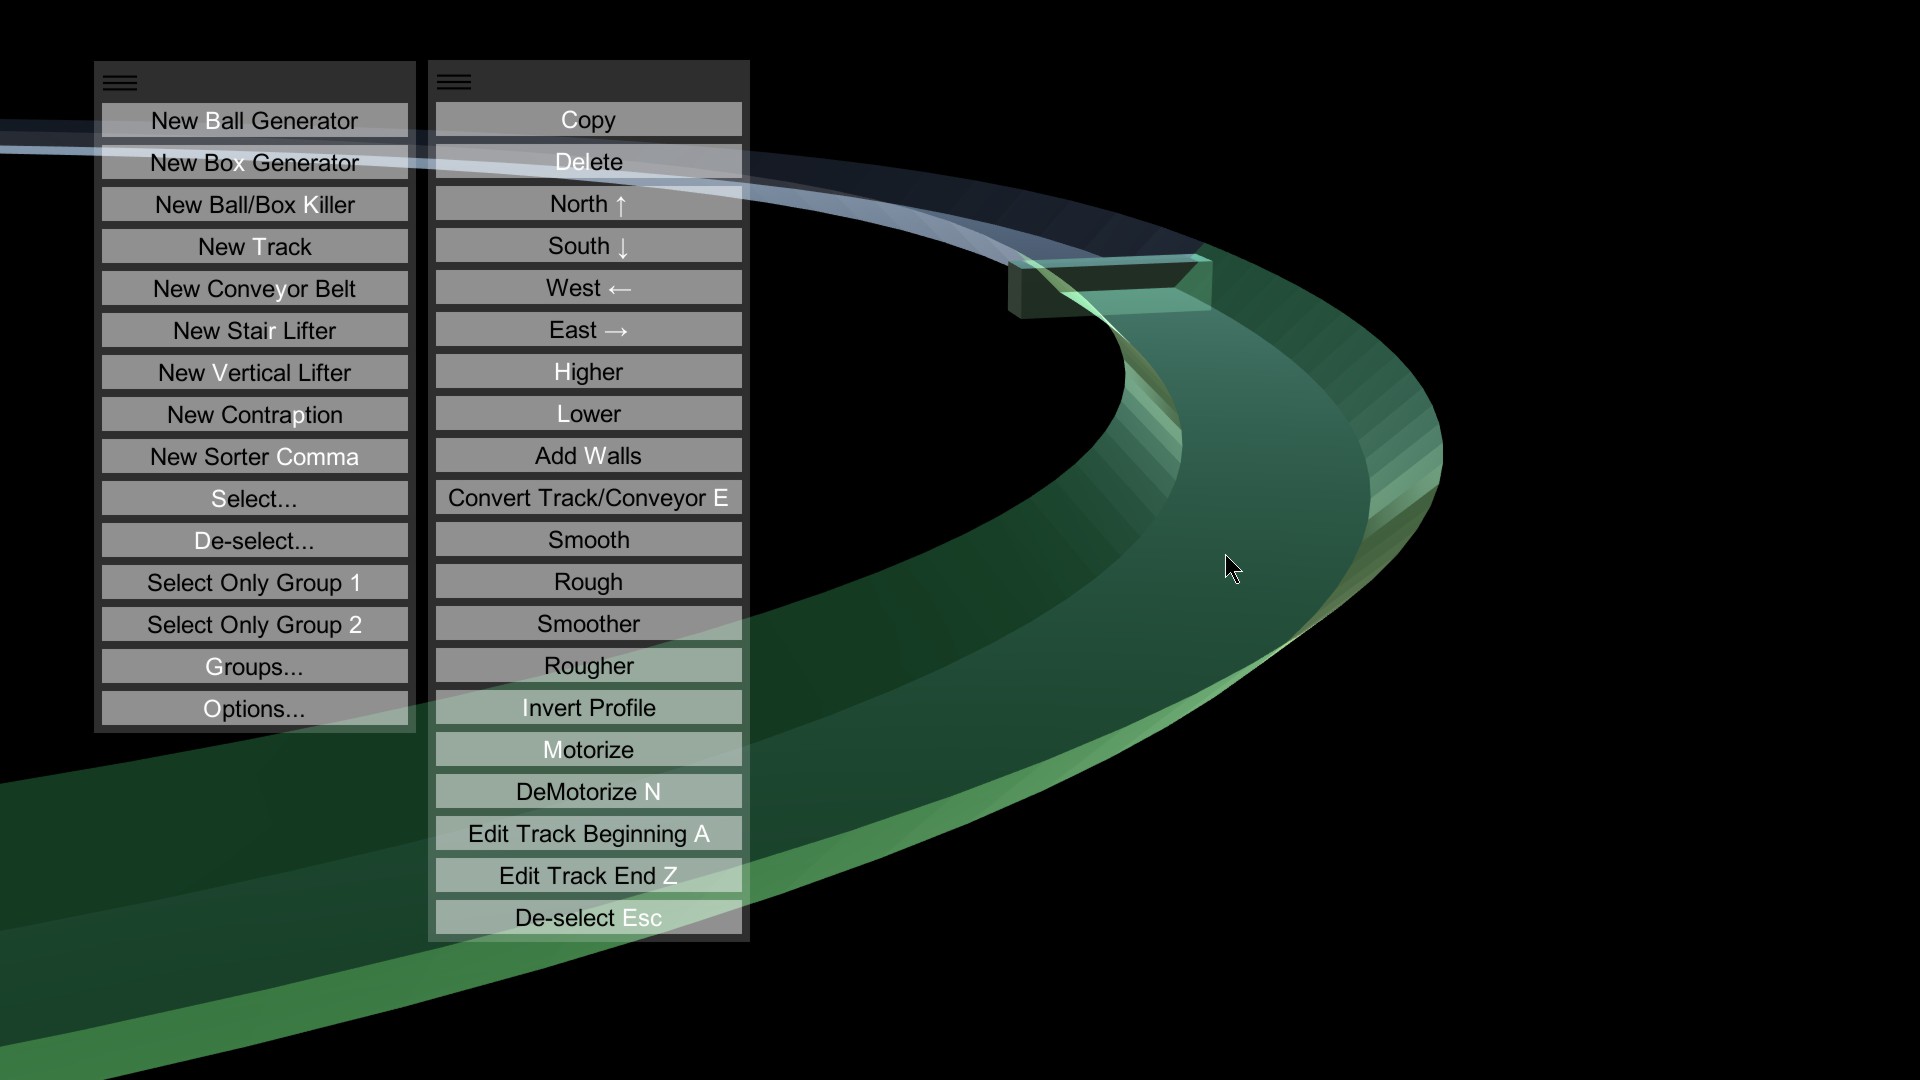
Click Lower (or press L). This will lower the track down.
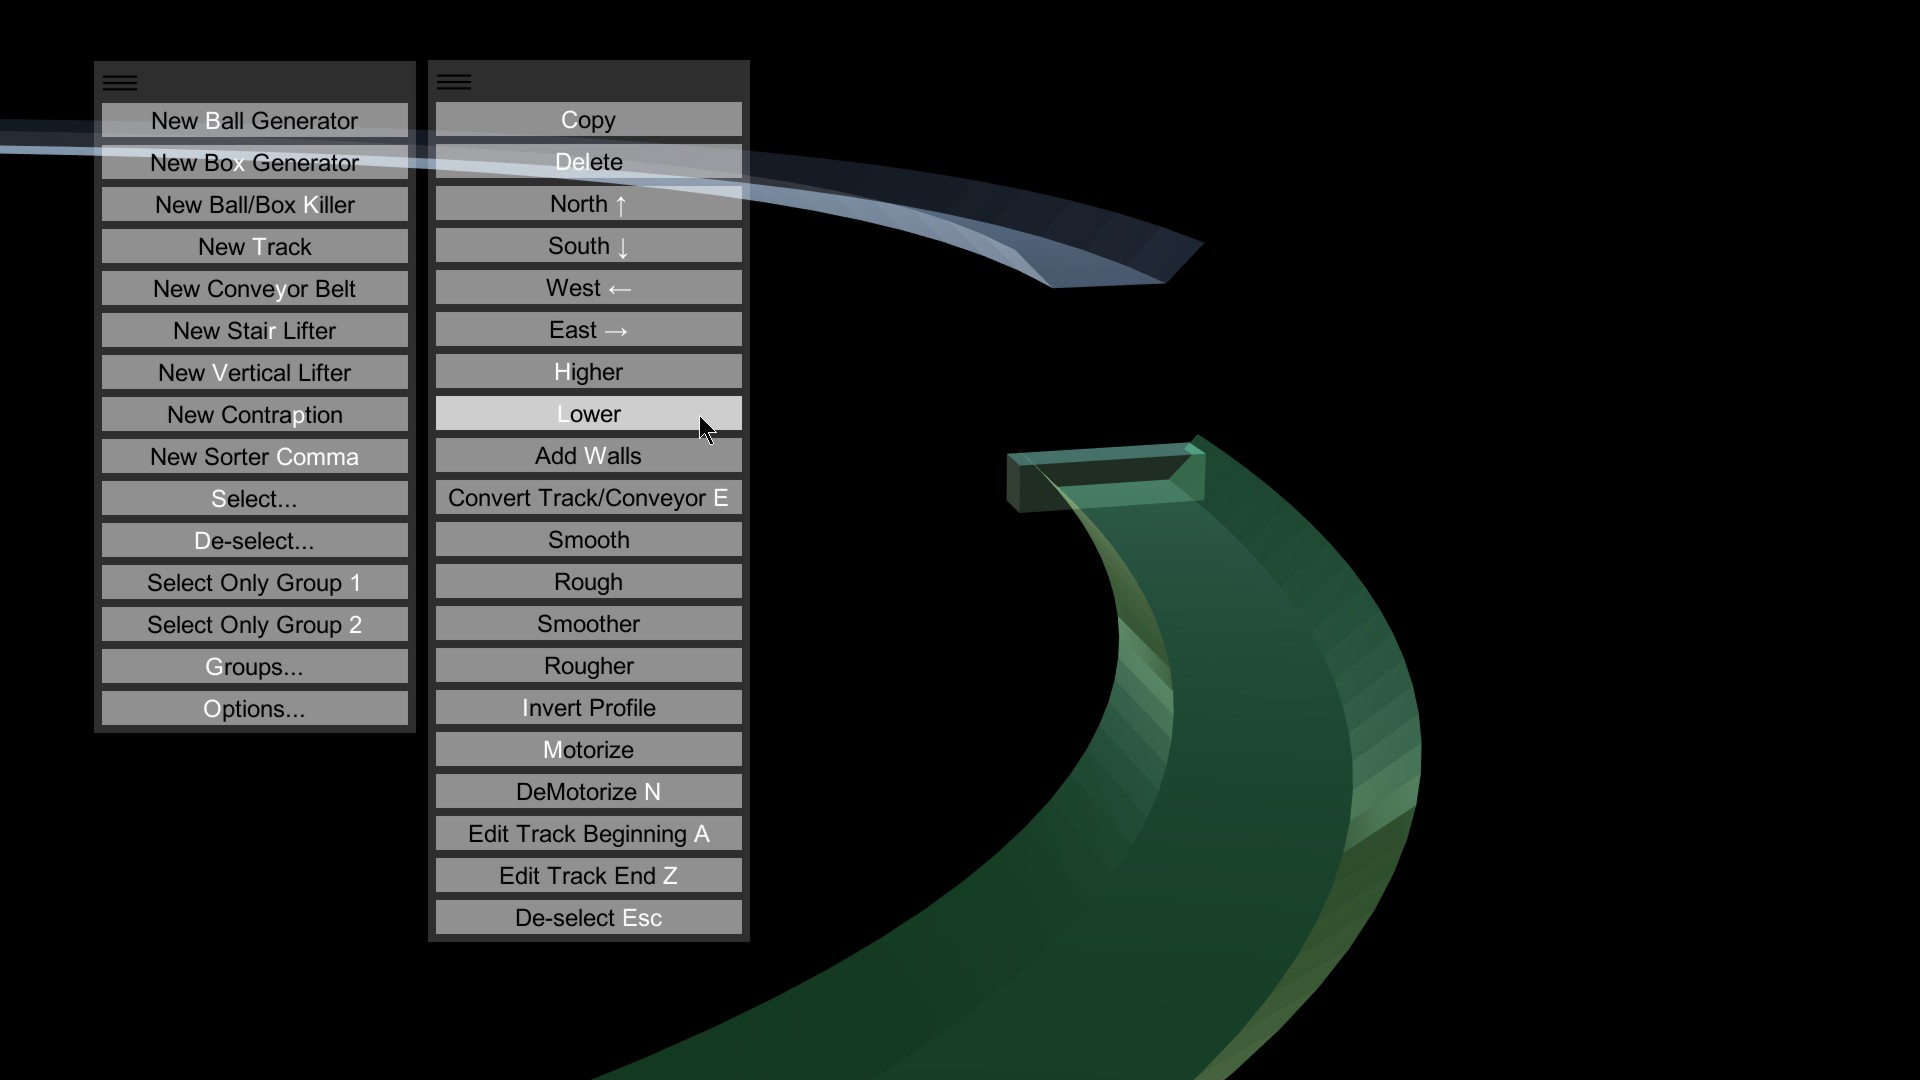
Click South (or press the down arrow). This will move the track South, or toward you. If you sent in the marbles now, they would encounter the break in the track, fall, and continue rolling.
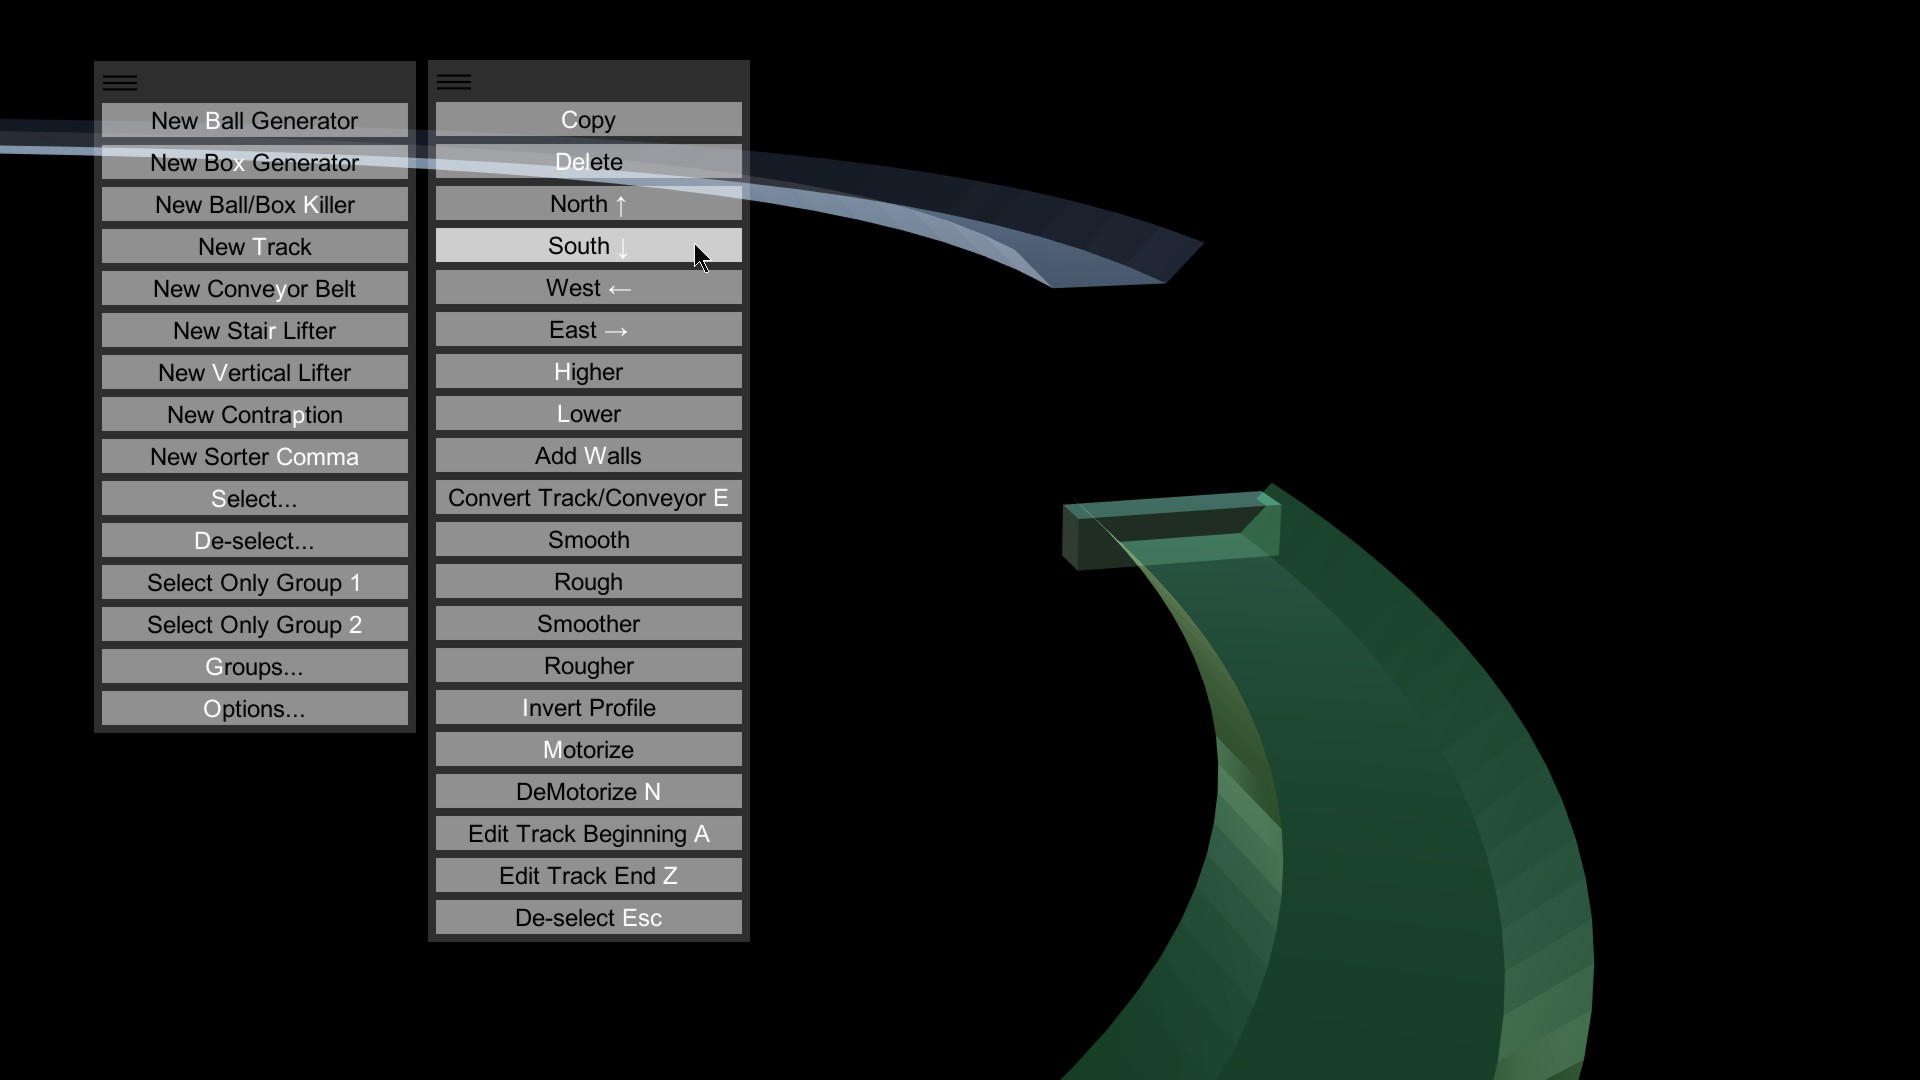
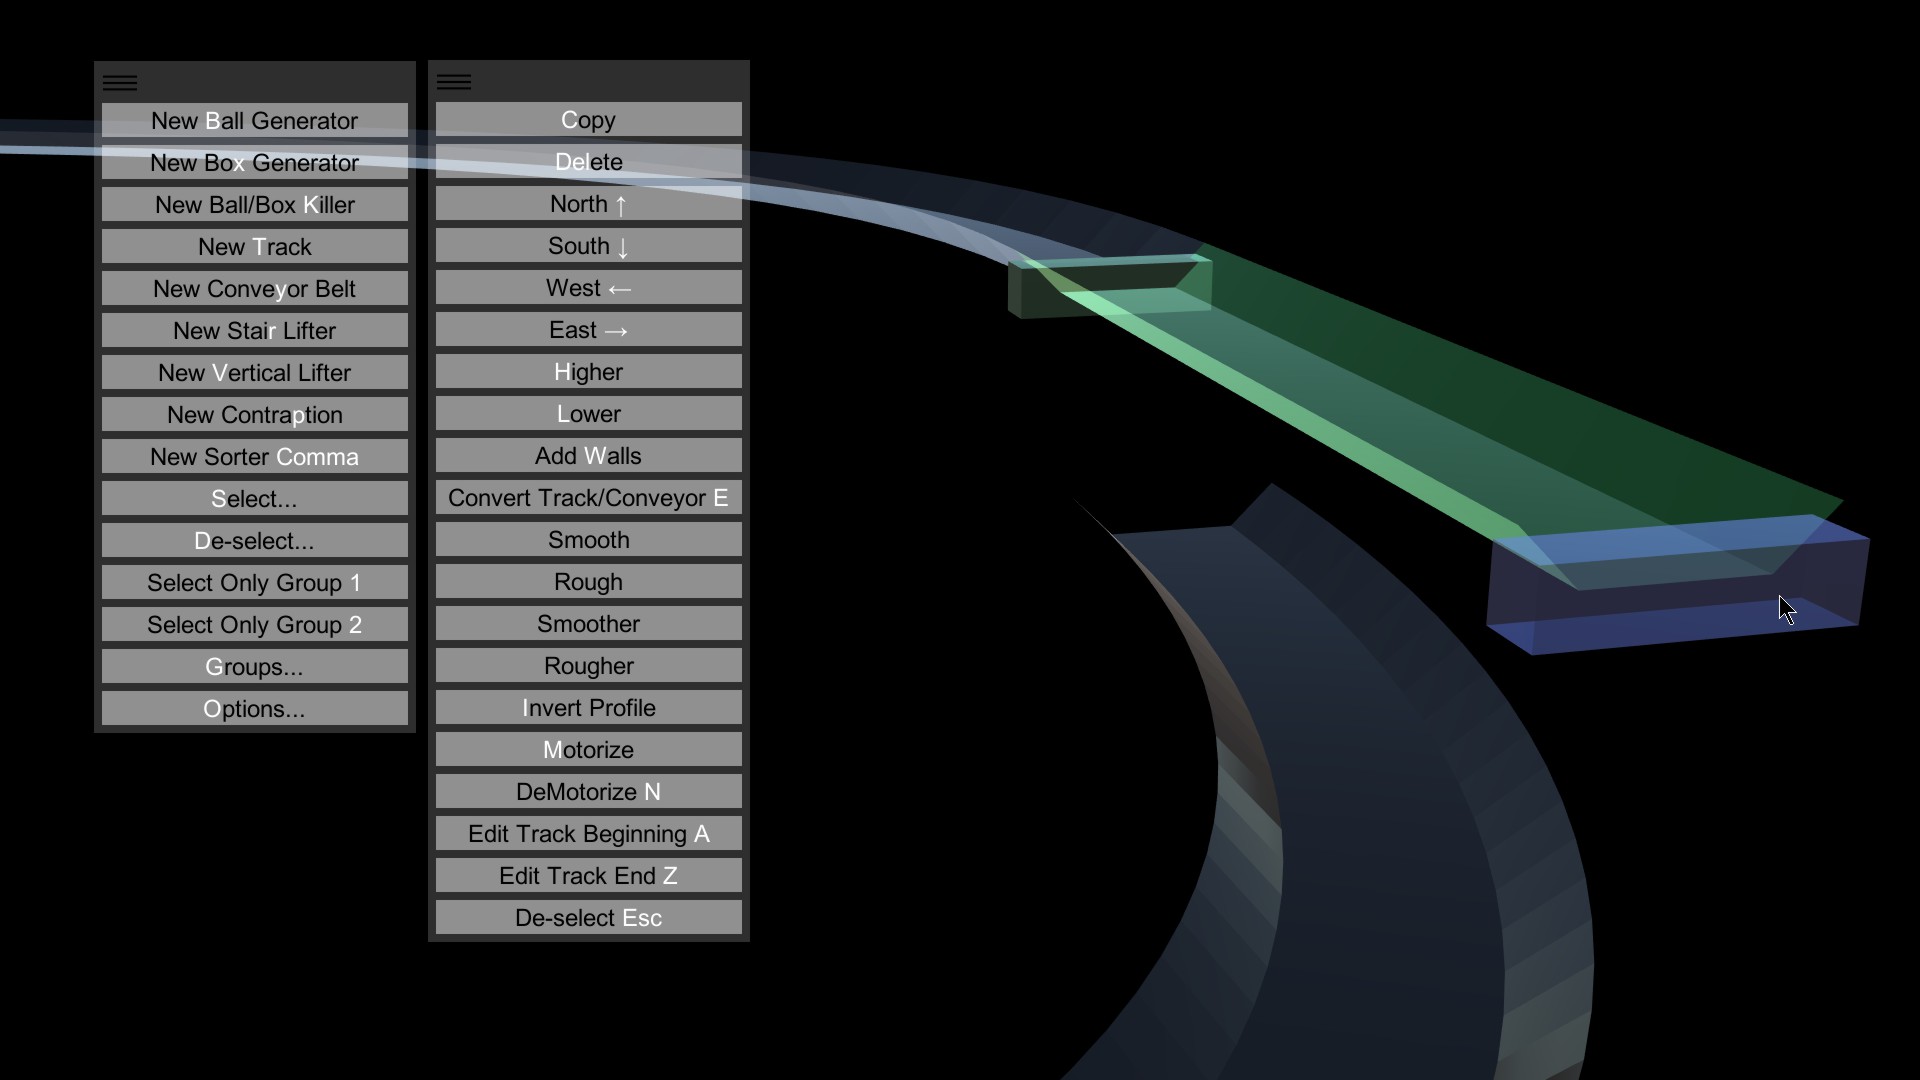
Click the track in the distance.
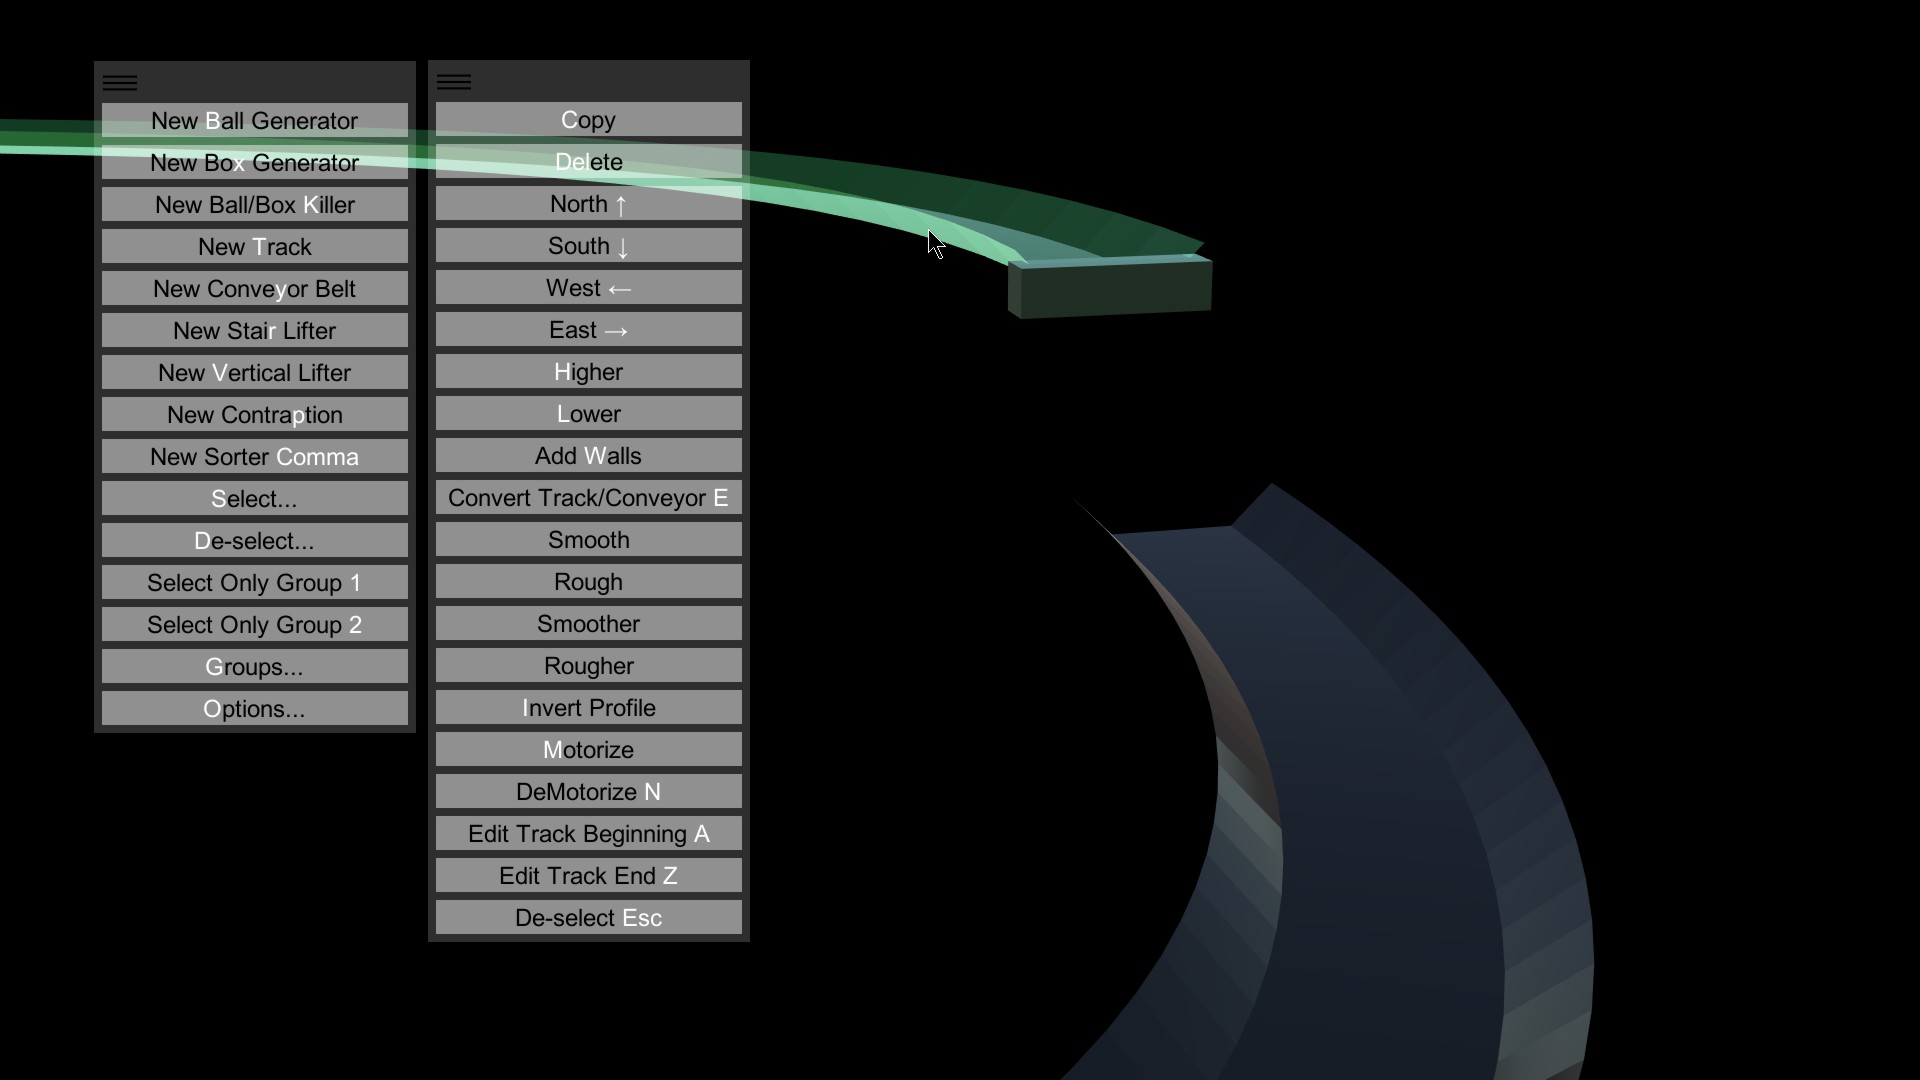
Now, click the endcap for that track when it appears. We're going to be adding track from this end.
Click Extend, or press E. Using the mouse or arrow keys, extend the track toward yourself.
Hint: click Match, or press M, to make the endcap that you are adjusting jump automatically to the height of the other endcap, resulting in a flat track. Of course, you can manually adjust with the mouse, Higher (H), Lower (L), and the four directions (arrow keys).
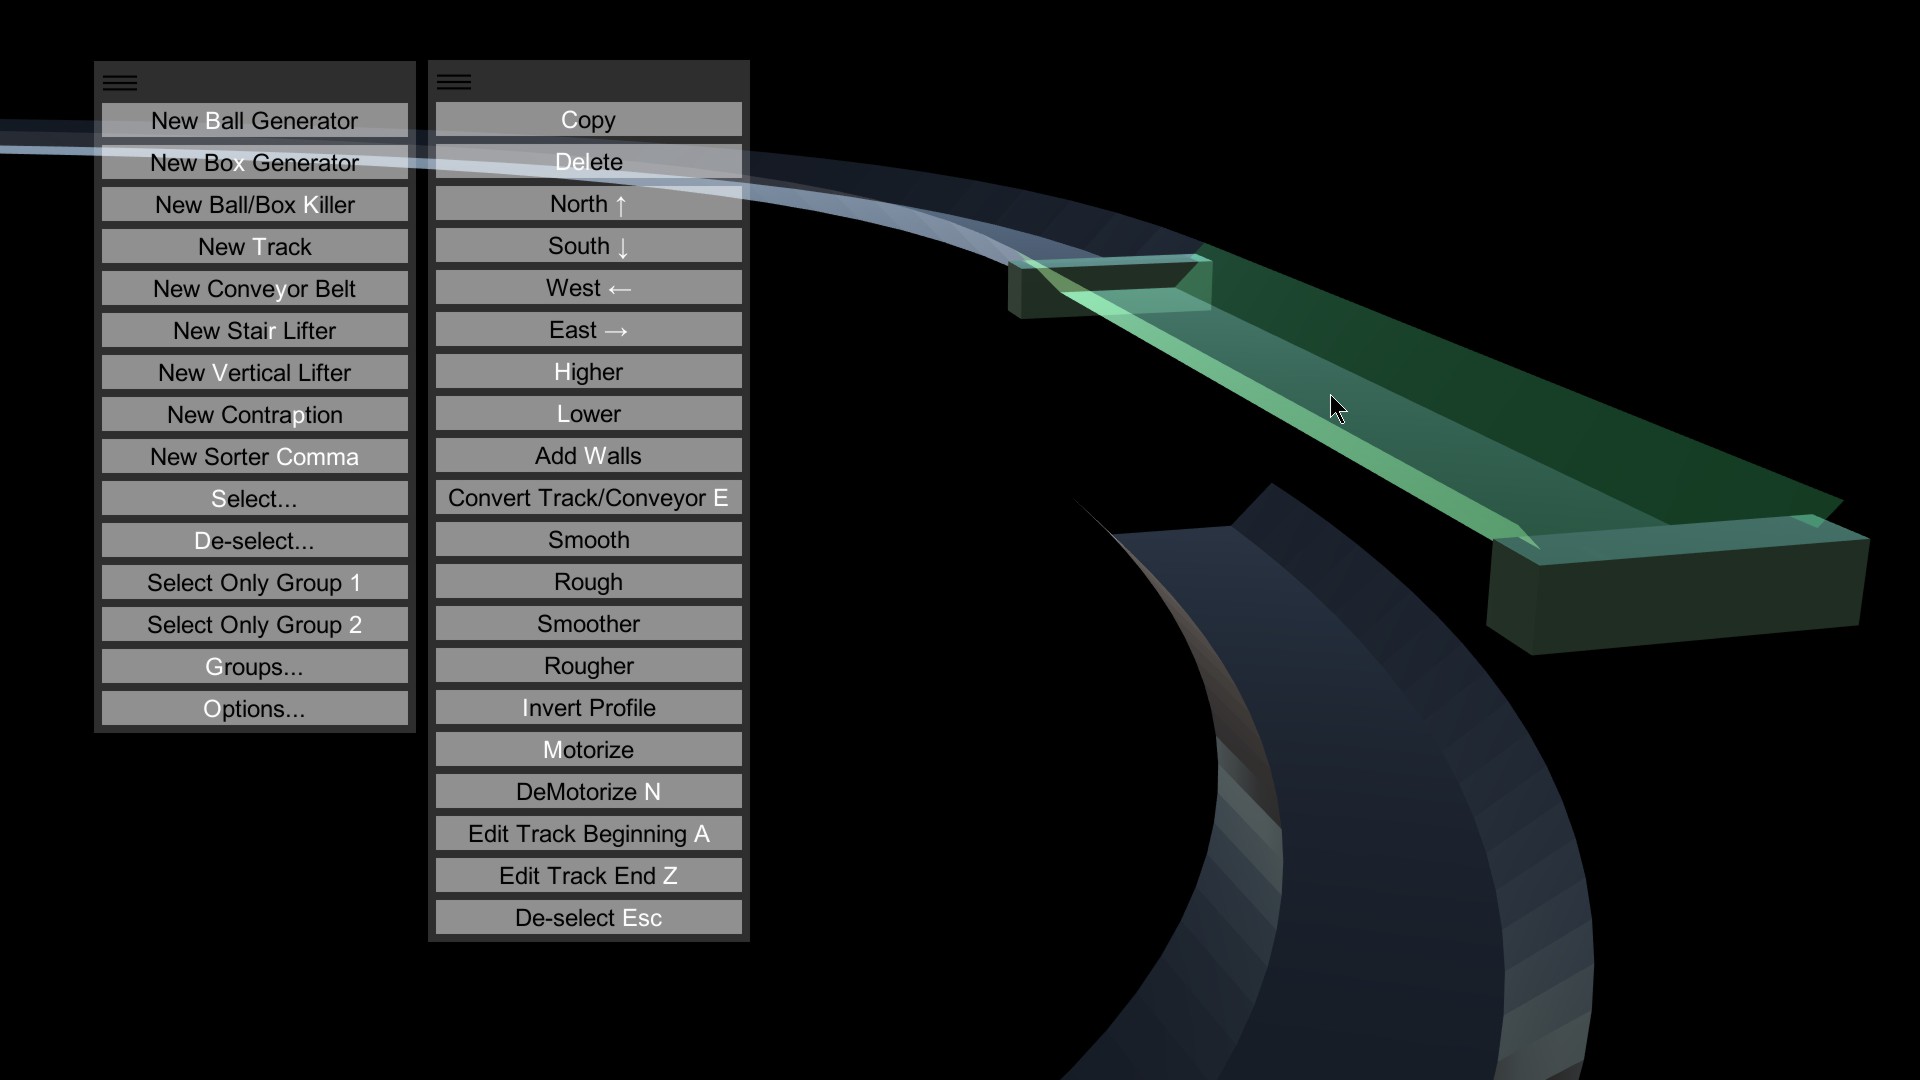
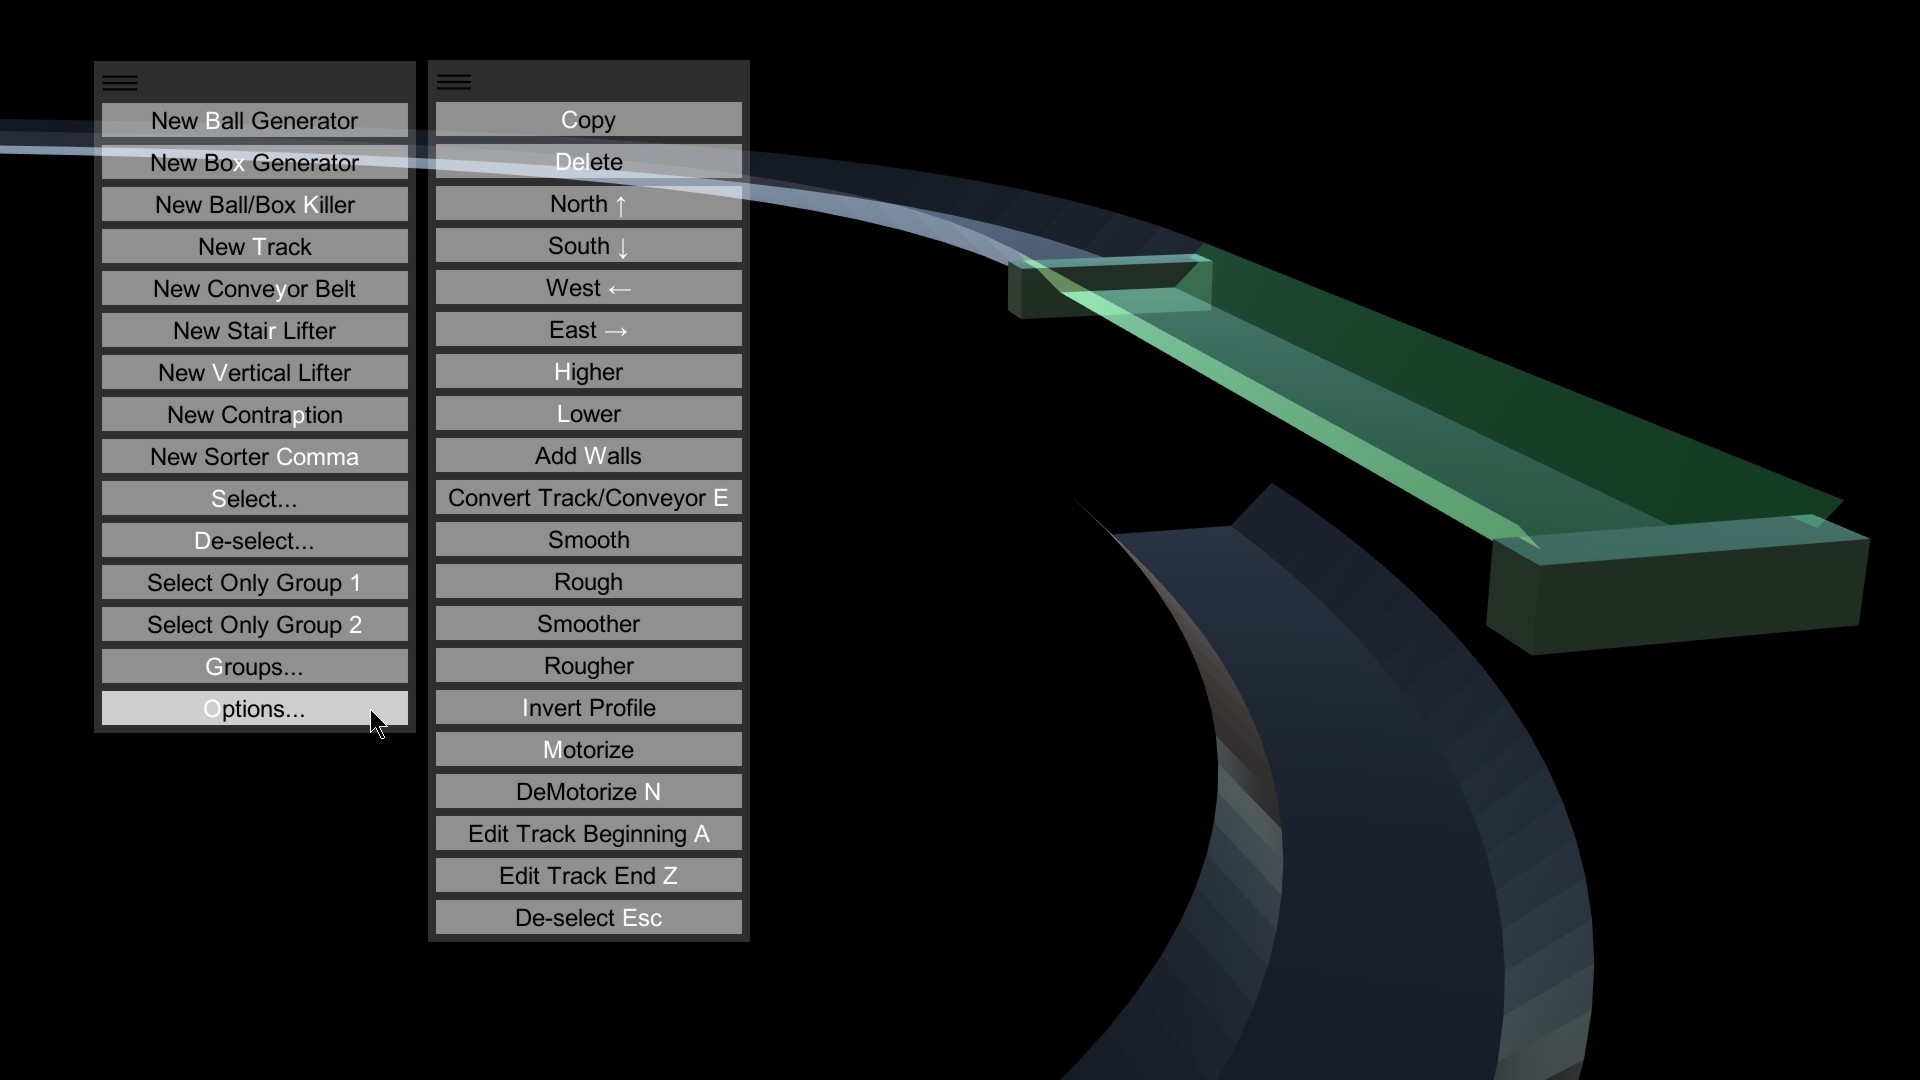
Click Options, or press O.

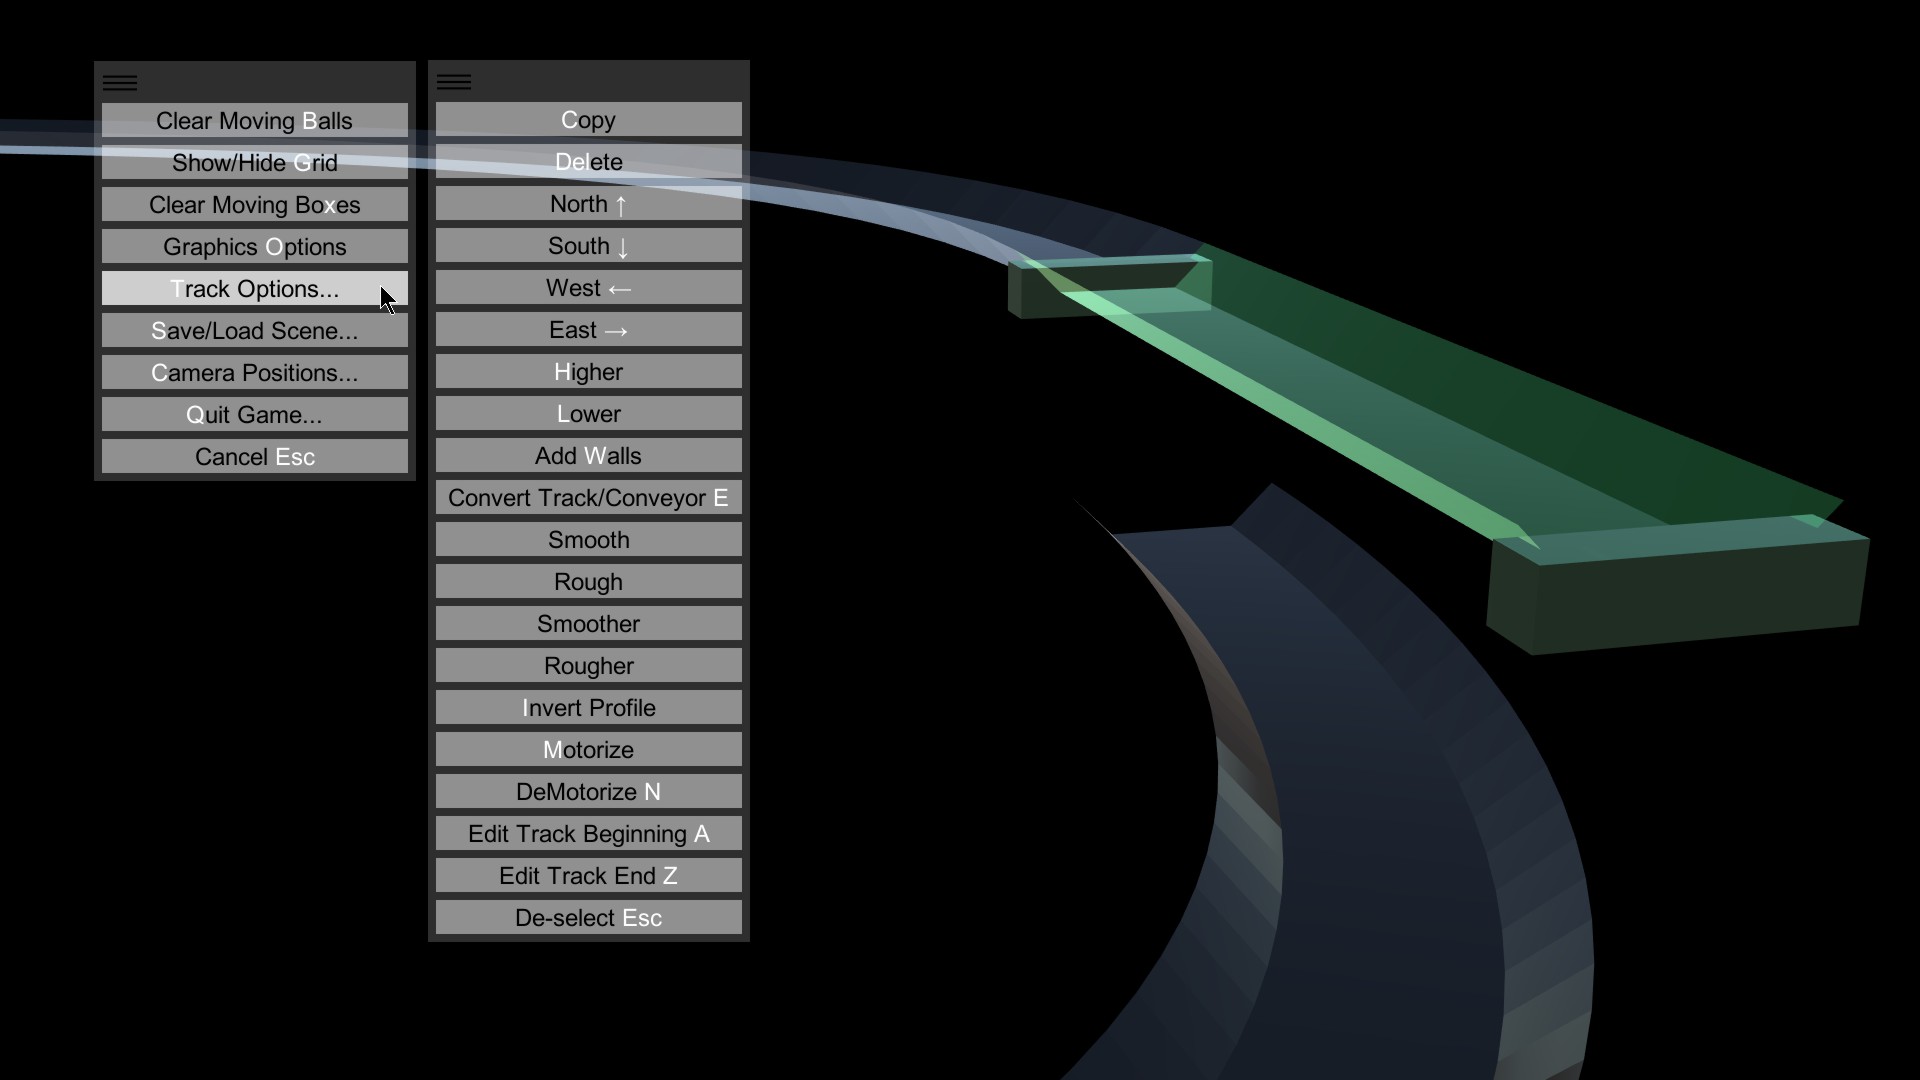
Click Track Options, or press T.

Click Capture Track's Profile, or press C.
What you've done is copied this track's profile, or cross-sectional shape, into memory. Any tracks you create from now on will look exactly like this track. By capturing this track's profile, you will be able to easily modify the profile in a way that knocks out the bottom of the track, allowing smaller marbles to fall through.

Make sure the track is selected.
Click Track Options (T)

Click New Track Profile (N). We're going to make a new profile, using this one as a template.

See the window that appears? It has the profile code in it: 10,0,2,2,0,2,0,8,0,8,0,10,2. This looks complicated, but it's really quite simple. The 10 at the beginning means to start with a two-dimensional grid, like graph paper, that's 10x10. Using x and y coordinates -- x being horizontal, y being vertical, starting from the bottom left of the graph -- you tell Marble Run Maker what the shape of the track is, looking down at it from one end.
In this example, the next four numbers -- 0,2,2,0 -- simply means the left wall of the track runs from x,y of 0,2 to 2,0. This is a downward-sloping line, 45 degrees, from top left to bottom right. Very simple.
The next four numbers -- 2,0,8,0 -- describes the floor of the track. A straight, horizontal line runs from x,y of 2,0 to 8,0.
Finally, the last four numbers are the right side of the track, a 45-degree line running from bottom left to top right. That line goes from 8,0 to 10,2.
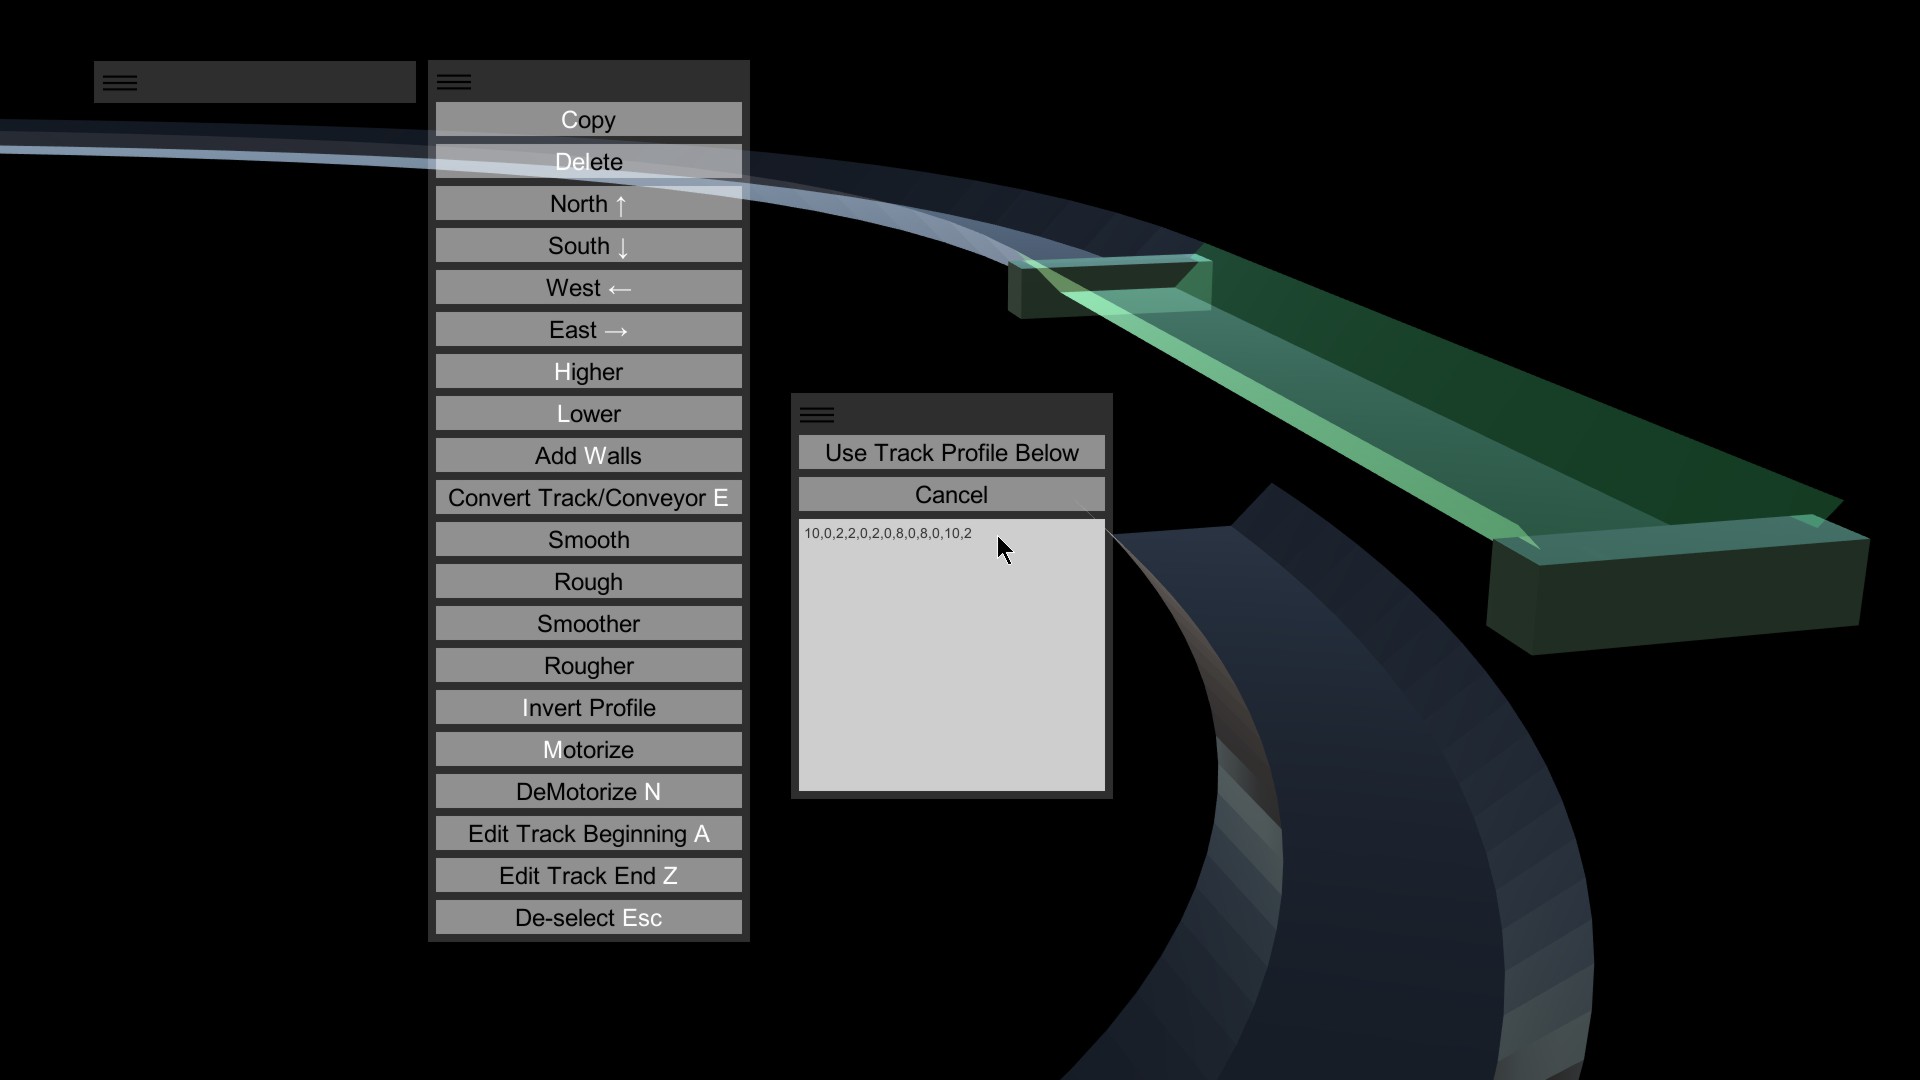
Highlight the middle numbers -- 2,0,8,0 -- and delete them. What you've done is removed the bottom of the track. All that remains are the sloped walls. What's left should look exactly like this: 10,0,2,2,0,8,0,10,2.

Click Use Track Profile Below to accept your changes.

Now we want to Apply this new profile to the existing track.
Click Options (O).
Click Track Options (T).
Click Apply Captured Profile (A).

Of course, you could just hit OTA on your keyboard (Options, Track options, Apply captured profile). The buttons are clickable, certainly, but you'll find that the hotkeys, highlighted in white, are faster. They let you keep your mouse near your design, and not moving to and from the buttons repeatedly.
Notice the track is updated with the new profile -- same as the original track, but missing the floor.

When you send in the marbles, the smaller ones fall through, and are carried off wherever you need them. The larger marbles stay on the track. Note that you can curve, bend, enlarge or reduce any custom track -- there are no limits on the modifications you can do. While this filtering track is rather simple, you can build as complicated a filtering system as you can dream up. The grid is not limited to 10x10 -- you can go as high as you want, giving you very fine control over the shape of your tracks.